
How Best to Light Prints
You want to enjoy your new purchase, and selecting the best location to hang your print, avoiding strong mid-day to afternoon light, so your print will not fade, and how to hang it on the wall.
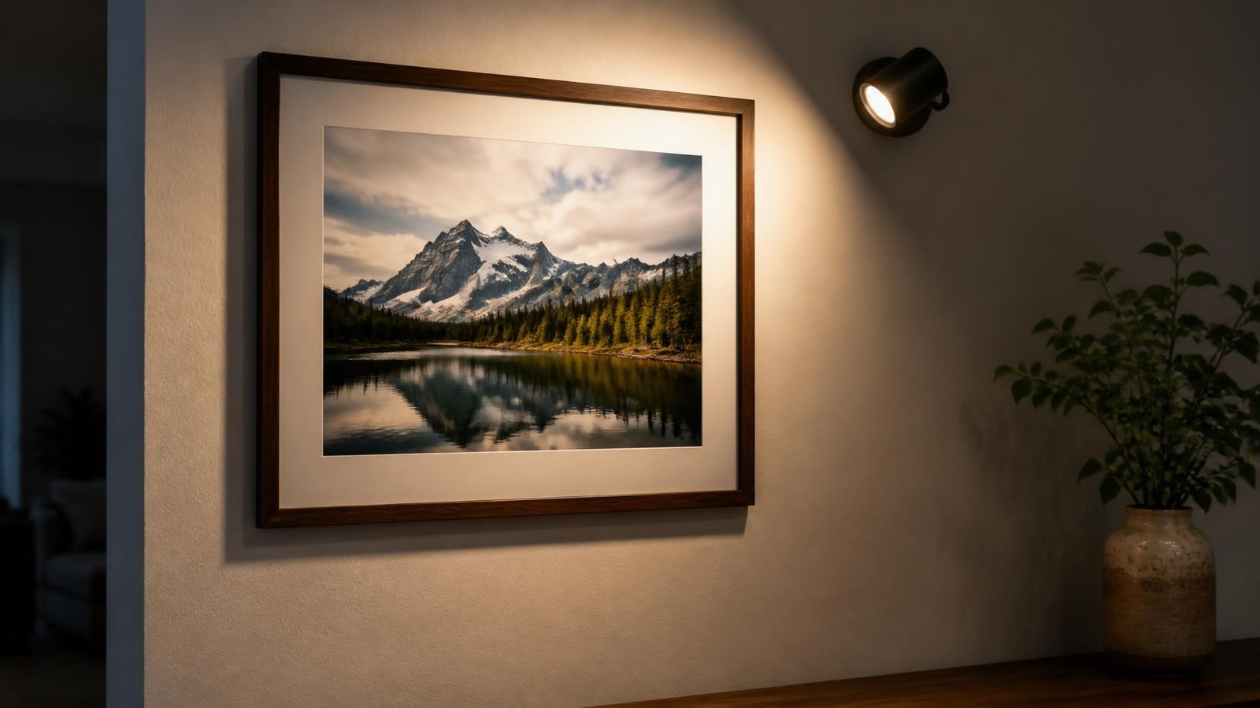
Lighting a print correctly can make a dramatic difference in how its colors, detail, and texture appear. The ideal lighting depends on whether you are displaying a paper print, canvas, acrylic, or metal print.
How to Best Light Prints
1. Use dedicated picture lighting
Picture lights mounted above the artwork provide controlled, even illumination. Choose a fixture that spreads light across the entire print rather than creating a bright spot in the center.
2. Choose a high-CRI LED
For photography and fine-art prints, look for LEDs with a CRI of 90 or higher. High color rendering helps reproduce the colors of the artwork more accurately.
A color temperature around 3000K–4000K generally works well:
- 2700–3000K: warm, intimate atmosphere
- 3000–3500K: warm but relatively natural
- 3500–4000K: cleaner, more neutral presentation
- 5000K+: cooler and more daylight-like, but can feel harsh in a home
3. Avoid direct glare
This is especially important for glossy paper, acrylic, and metal prints. Don't aim the light straight at the surface. Instead, position the light above the artwork and angle it toward the print so reflections are directed away from the viewer.
A common starting point is placing the light roughly 30° from the artwork's surface.
4. Consider each medium
- Paper: Matte and lustre papers are relatively easy to light. Soft, even illumination works particularly well.
- Canvas: Use broad, diffused lighting to emphasize the image without creating distracting shadows across the canvas texture.
- Acrylic: Keep the light carefully angled because the glossy surface can produce strong reflections.
- Metal: Similar to acrylic, metal can reflect surrounding lights and windows, so indirect or carefully angled illumination is preferable.
5. Light the whole image evenly
For large prints, one narrow spotlight can produce an obvious bright center and darker edges. A long picture light, multiple small fixtures, or a wide-beam adjustable LED will usually provide more consistent coverage.
6. Watch the surrounding environment
Windows, ceiling lights, and nearby lamps can create reflections even when your picture light is positioned correctly. Before finalizing the installation, stand where viewers will normally see the artwork and check for glare.
A Good General Setup
For a photographic print in a home or gallery-style setting, a good starting point is:
High-CRI LED + 3000–3500K + wide beam + even illumination + approximately 30° lighting angle.
For acrylic and metal prints, spend extra time adjusting the angle. The best lighting isn't necessarily the brightest—it is the lighting that reveals the photograph while keeping distracting reflections out of the viewer's line of sight.
Tools Needed:
- Spirit Level
- Nails
- Wall hooks
- Screw and wall anchors
- Hammer
- Screwdriver
- Drill and drill bit
How to Hang a Photo on a Wall
1. Choose the right position
Place the photograph where it can be viewed comfortably without being obstructed by furniture, doors, or strong sunlight. For a single photograph, a good general rule is to position the center of the image around eye level, usually about 57–60 inches (145–152 cm) from the floor.
If the photograph is being hung above a sofa, console, or other furniture, leave roughly 6–10 inches (15–25 cm) between the furniture and the bottom of the frame.
2. Measure before drilling
Measure the height and width of the frame. Mark the desired position lightly with a pencil. For framed photographs with wire or D-rings, measure the distance between the hanging points and account for how far below the top of the frame the fixing will sit.
Using a spirit level helps prevent the finished photograph from appearing crooked.
3. Choose the correct wall fixing
The fixing should match both the weight of the photograph and the type of wall.
- Light photos: picture hooks or suitable wall hooks may be sufficient.
- Medium-weight frames: use appropriate wall anchors or screws.
- Heavy artwork: attach the fixing to a wall stud where possible, or use a heavy-duty anchor designed for your wall.
- Drywall/plasterboard: use anchors specifically rated for the weight.
- Brick or concrete: use the appropriate masonry plug and screw.
Always check the weight rating of the hardware rather than assuming a nail or hook will support the frame.
4. Hang the photograph
Install the fixing at your marked location, then carefully hang the frame. Step back and check the photograph from several angles.
Use a spirit level across the top edge to make sure it is straight.
5. Hanging several photographs
When creating a gallery wall, lay the photographs on the floor first and experiment with the arrangement. Keep the spacing consistent—often around 2–4 inches (5–10 cm) between frames.
Treat several photographs as one composition and position the overall group at a comfortable viewing height.
Protect the Photograph
Avoid hanging photographs in direct sunlight, damp areas, or immediately above radiators or fireplaces. UV exposure and heat can gradually affect photographs and some framing materials.
For valuable prints, consider UV-protective glazing and archival mounting materials.
A simple rule: measure twice, use the correct wall fixing, check the level, and only then make the final hole.
If you have any questions or need help ordering your fine art print, please "Contact Us", we will be happy to help you!
Cheers John